Sunday, 20 October 2013

Animations Blocking

 
Opening Scene

 
https://vimeo.com/77324783
 
Model the desert scene with just simple planes and cubes. Wasn't happy with the first terrain I model as I find the texture is simply not hi-res enough. The hardest part is the ncloth simulation as Maya ncloth itself is unpredictable. Lots of trials and errors before I got what I wanted. I find that ncloth presets doesn't work in most cases. Further tweaking is required and sometimes the most unimagined preset does the job with some tweaking. Here I use the 'chain mail' preset where I have to increase the wind attribute to very high in order to have the cape moves with the wind. Further effects are done in After Effect where I used a green screen sand storm downloaded from internet. Will add more animations to this scene like tumbleweed rolling and particles sands blowing in different directions to make this scene as realistic.


Cliff Top


Same basic modelling of the cliff top and the animation is just a basic walk to the edge and stop before the camera close in to the character to reveal the city. I ran into problem using the saved ncloth preset above as the cape doesn't flow the way I wanted. After blending the chain mail with the silk preset, the cape lifted a little. I further reduce the Maya nucleus gravity attribute to achieve the cape nicely blown against the wind.


Temple Front


This is probably the hardest animation I did as the timing is crucial in this scene. Also I knew that the cape simulation going to be hard after tedious hours I spent on the previous animations. This scene's animation is more dramatic and the chances ncloth going to break is high. I did plan ahead before doing this animation and I was using plenty of ncloth's constraint to mimic as much movement for the cape as the character has two leaps in this scene. Here, I increase the gravity in the nucleus attributes to extremely high, just to hold down the cape as much as I can. This is also the most breakdown in term of camera shots to get the feel of the character leaping.
 
 
Tunnel Scene


Animation is minimal in this scene but the lightings will play an important role in giving the mood in the tunnel. I model the tunnel using basic cyclinder shapes with cubes for the pillars and rocks. I further shaped the tunnel using the sculpt tool. Finally found a sword reference I like and model the sword. Ncloth is most easy and I used the chain mail preset with no physical attributes.
 
Posted the snow animation details in the last post but was unable to upload videos here. Finally got Vimeo working and the links below each image are the those animations blocking done for the last two weeks.
 Also included is the snow animation with the link below.
 
https://vimeo.com/77324897


Sunday, 6 October 2013

Snow Mountains

 
Snow Scene


Simple cube and sculpted using Maya Sculpt tool. UV mapped it in less than a minute with a plugin called UV Master in ZBrush and painted the texture using projection painting in Mudbox. The only problem was to get a high resolution (4096x4096) image for the mountain and snow texture. Did further sculpting in Mudbox to extract a normal map to give slight details and bumps to the terrain. This scene will be composite in After Effects with additional layers of fog created in Photoshop. Thus detailed of the rocks is not necessary. We will be using a matte painting for the background and the entire scene will be lit with just a single directional light and a HDRI image in Maya.


Referenced the character and animated the climb. I placed a camera at this angle and distance (above image) and animate the camera moving away and panning to the back of the character to give a sense of the huge mountain and surrounding.


Camera position at frame 110.


End of frame 204.


This is the next shot of the camera where the character appears at the top of the climb and finally it will fade into the shot below where the character is walking on the top of the mountain (image below). I referenced the character into a new scene and animated him in a walk cycle I did earlier for the 'Bamboo Forest'. Changed the setting to post-infinity in the graph editor and set the time line to have the character walked 3 cycles. Saved the file and re-referenced it in this scene and just animate the terrain moving backward. The walk is slightly different where the character struggles to walk in this snow with his head looking down to the ground.


Using this method of referencing saves time as we can reuse the animation in different scenes. We can use animation layers to further animate the character in those scenes. The only difficult  task is getting the timing right in each different scenes. 


Temple Front

The Big Orange


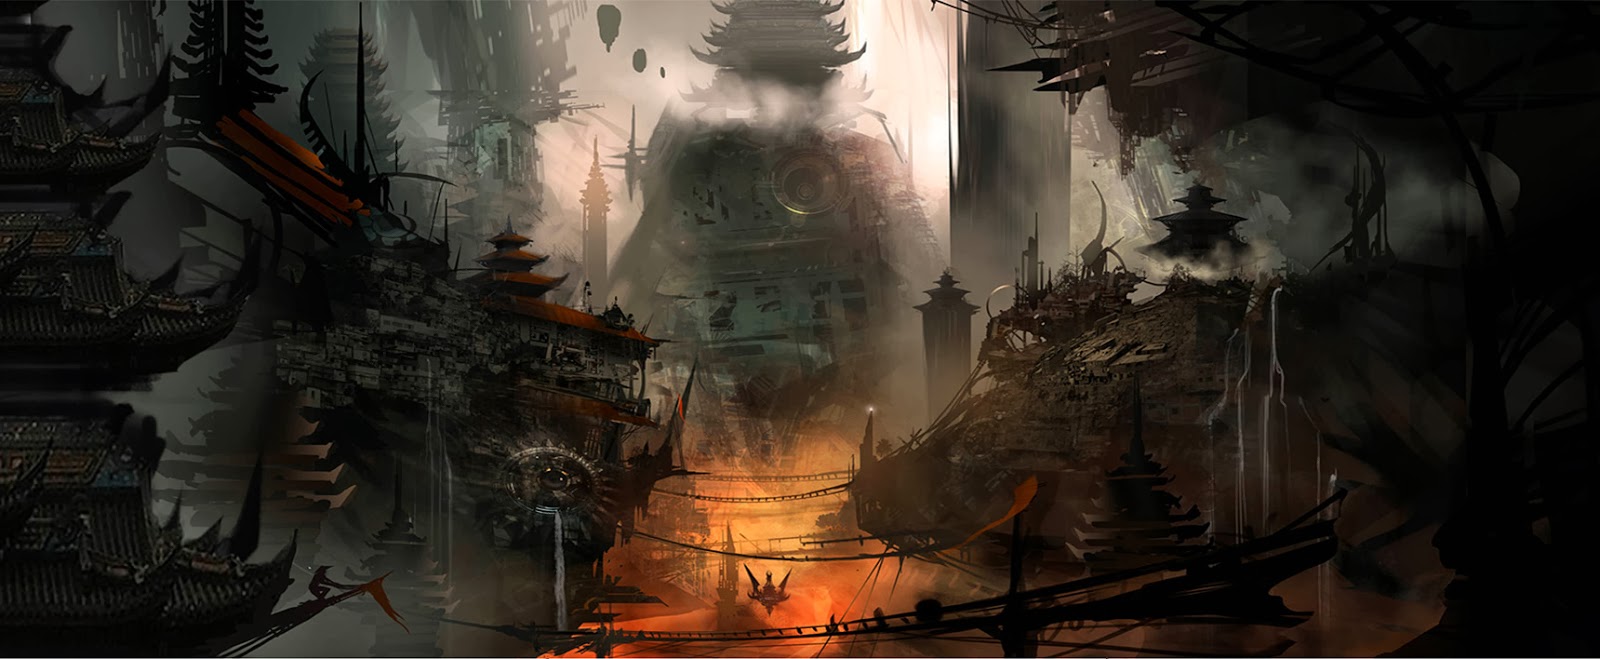
I call this colour palette mood The Big Orange. We had the idea of just placing a big fire in front of the temple initially but we thought that a big fire doesn't make any sense to get the feel of something big and bright in the centre of the set as Andrew first suggested in the colour palette during the pre-production planning. Anne-Marie suggested the idea of lava flowing and that leads us to the idea of building a structure that is built on top of the lava to illuminate the bright yellow and orange light.


This structure was modelled in low-poly in Maya, using only simple shapes of cube and sphere. The main shape is just a cylinder shape with 8 sides. The process is quick and easy. The entire modelling and UV mapping took just 2 hours. I added extra elements like woods and stones around the structure to give it a more messy but natural look. Textures are of the most basic image file downloaded online. I changed the colour and hue saturation in Photoshop in order to have all the materials of the structures to blend in nicely. 


I use Crazy Bump to extract a normal map to add details to this structure. Did a quick black and white map in Photoshop for the tiles pattern in the crossed bridge of the structure. At the base of the structure is the lava itself. Just a simple plane mapped with a lava picture. We will add a specular map to the shader where the yellow will be brightest and red is secondary. The dark will stay dark. This gives the illusion of lava giving out light when the scene is rendered.


I placed some point lights around the structure and we will be placing some fires in After Effects. Two main point lights will be place in the centre of the structure, one that has linear decay and cast shadows, while the other with a less intensity with no shadow. The idea is to brighten the whole area with yellow and red lights to give the effect of 'The Big Orange' in the scene. Depending on whether we are going to animate the character in this scene, we might animate the lave moving slightly to show the flow of the lava underneath.